Event Stock Handling — Trade Shows, Expos & Pop-ups
When stock is brought to an event (a food expo, a trade show, a pop-up booth), three different things can happen to each item: it can be sold, it can come back unsold, or it can be consumed / given away (samples, tastings, giveaways). These three outcomes need three different transactions — and getting them right keeps inventory accurate and stops items from being expensed before they're actually gone.
The golden rule:
Event stock stays your inventory the whole time. Use Internal Transfers to move it, a Sales Order to sell it, and an Item Request (scrap) only for what is genuinely written off.
It's tempting to file one big Item Request to pull everything out for the event. Don't. Scrap is a permanent write-off — a scrapped item cannot be cleanly sold or transferred back. Scrap belongs at the end of the process, for the handful of items that were actually consumed.
The model in one picture
Everything sellable or returnable rides on transfers; only true write-offs touch scrap.
One-time setup — a dedicated event warehouse
Create a warehouse that represents the event, e.g. WOFEX or Events, under Inventory → Configuration → Warehouses. A dedicated warehouse gives the event its own delivery (DR) numbering and lets a Sales Order pull stock straight from event stock.
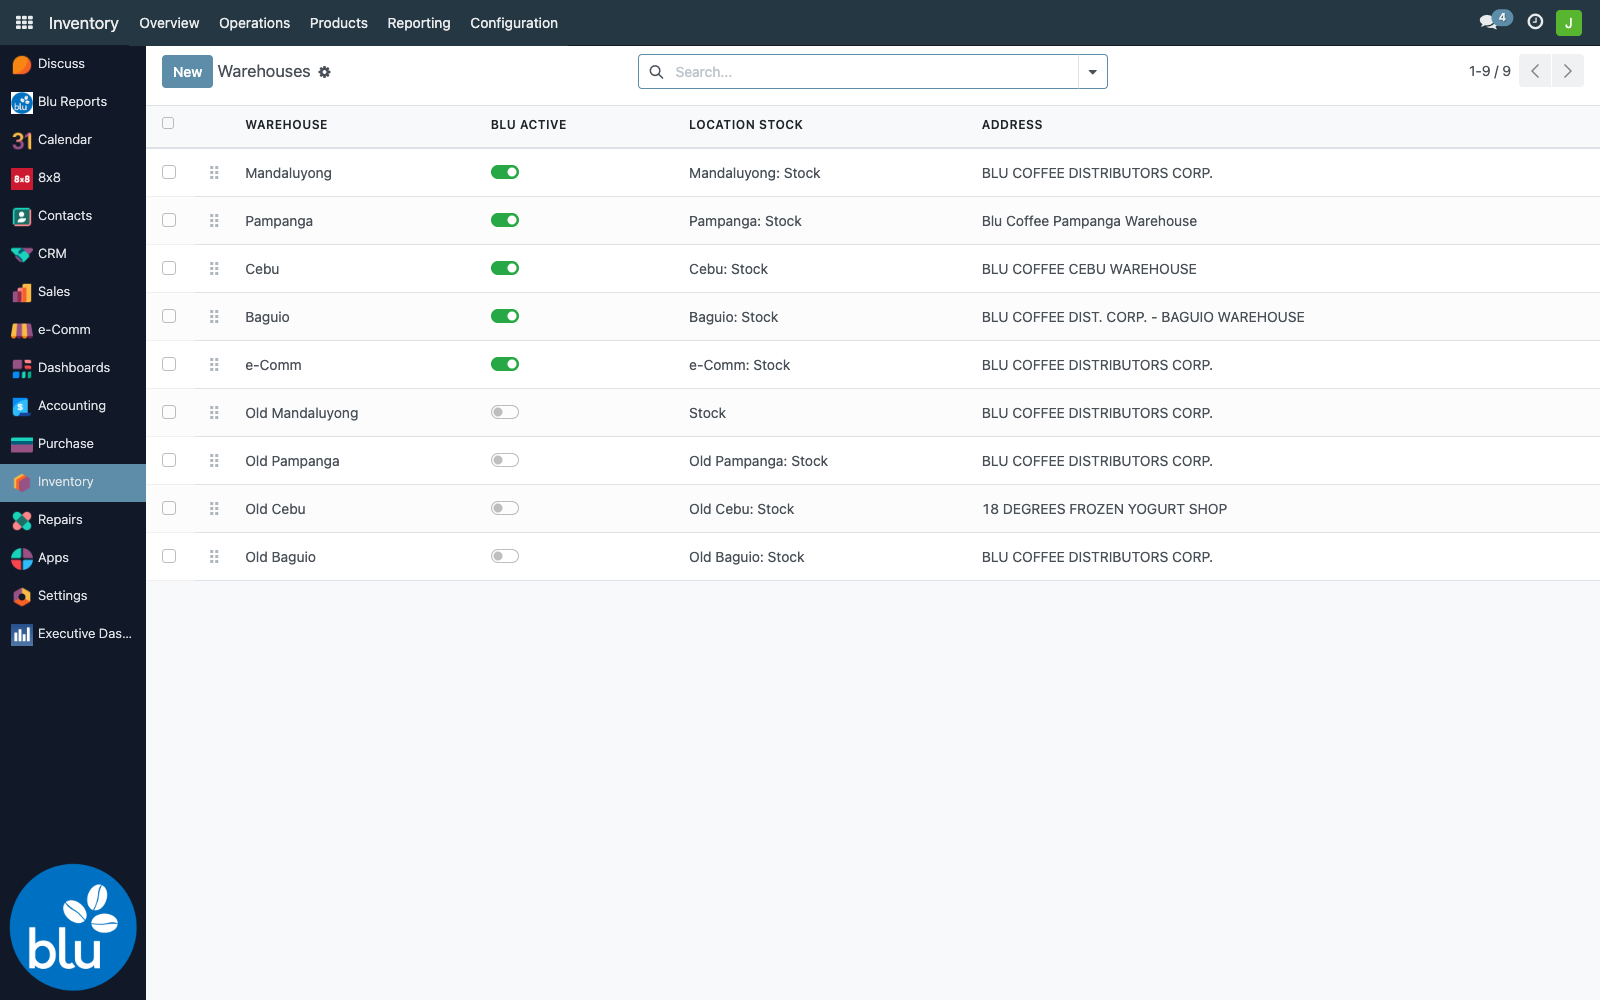
For a recurring event, a dedicated warehouse is cleanest (its own picking types and DR sequence). For a small one-off, a location under the main warehouse (e.g. Mandaluyong/Events) is enough — the steps below are otherwise identical.
Step 1 — Send stock to the event (Transfer Out)
Go to Inventory → Operations → Internal Transfers → New. Set the Source Location to the main warehouse stock and the Destination Location to the event warehouse, then add the products and quantities and Validate.
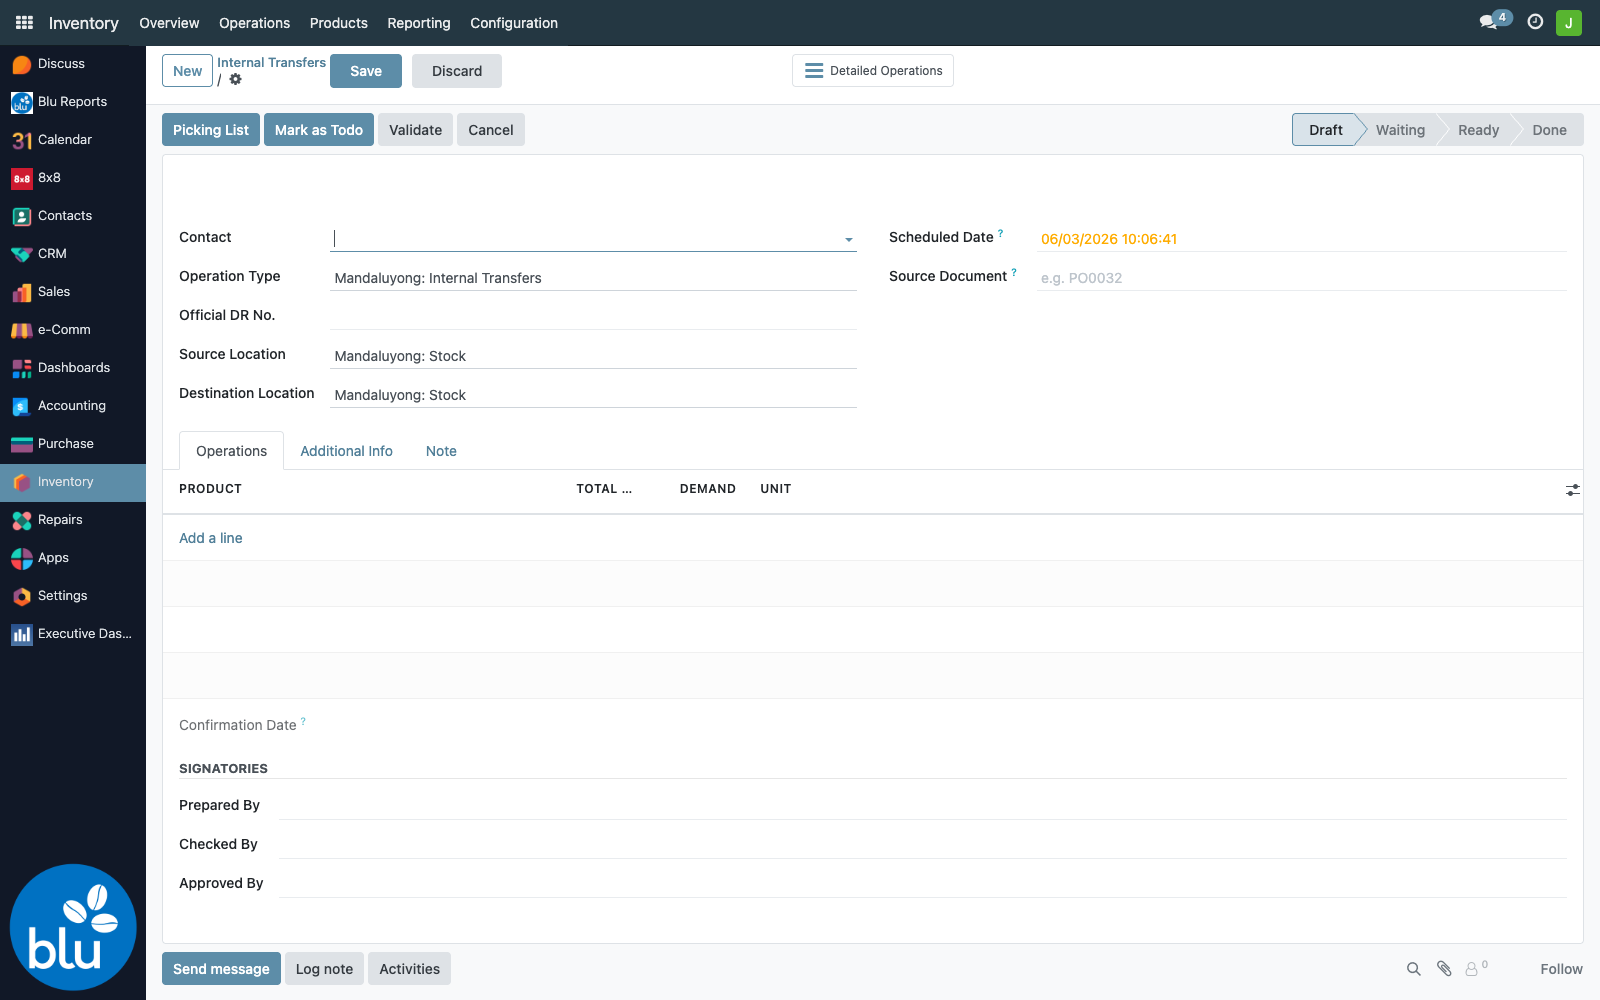
The stock now shows under the event warehouse. No expense and no journal entry — it's still company inventory, just in a different location.
Step 2 — Sell at the event (Sale → Delivery → Invoice)
For every item sold at the booth, create a Sales Order and — this is the key part — set the Warehouse to the event warehouse on the Other Info tab. That makes the delivery pull from event stock instead of the main warehouse.
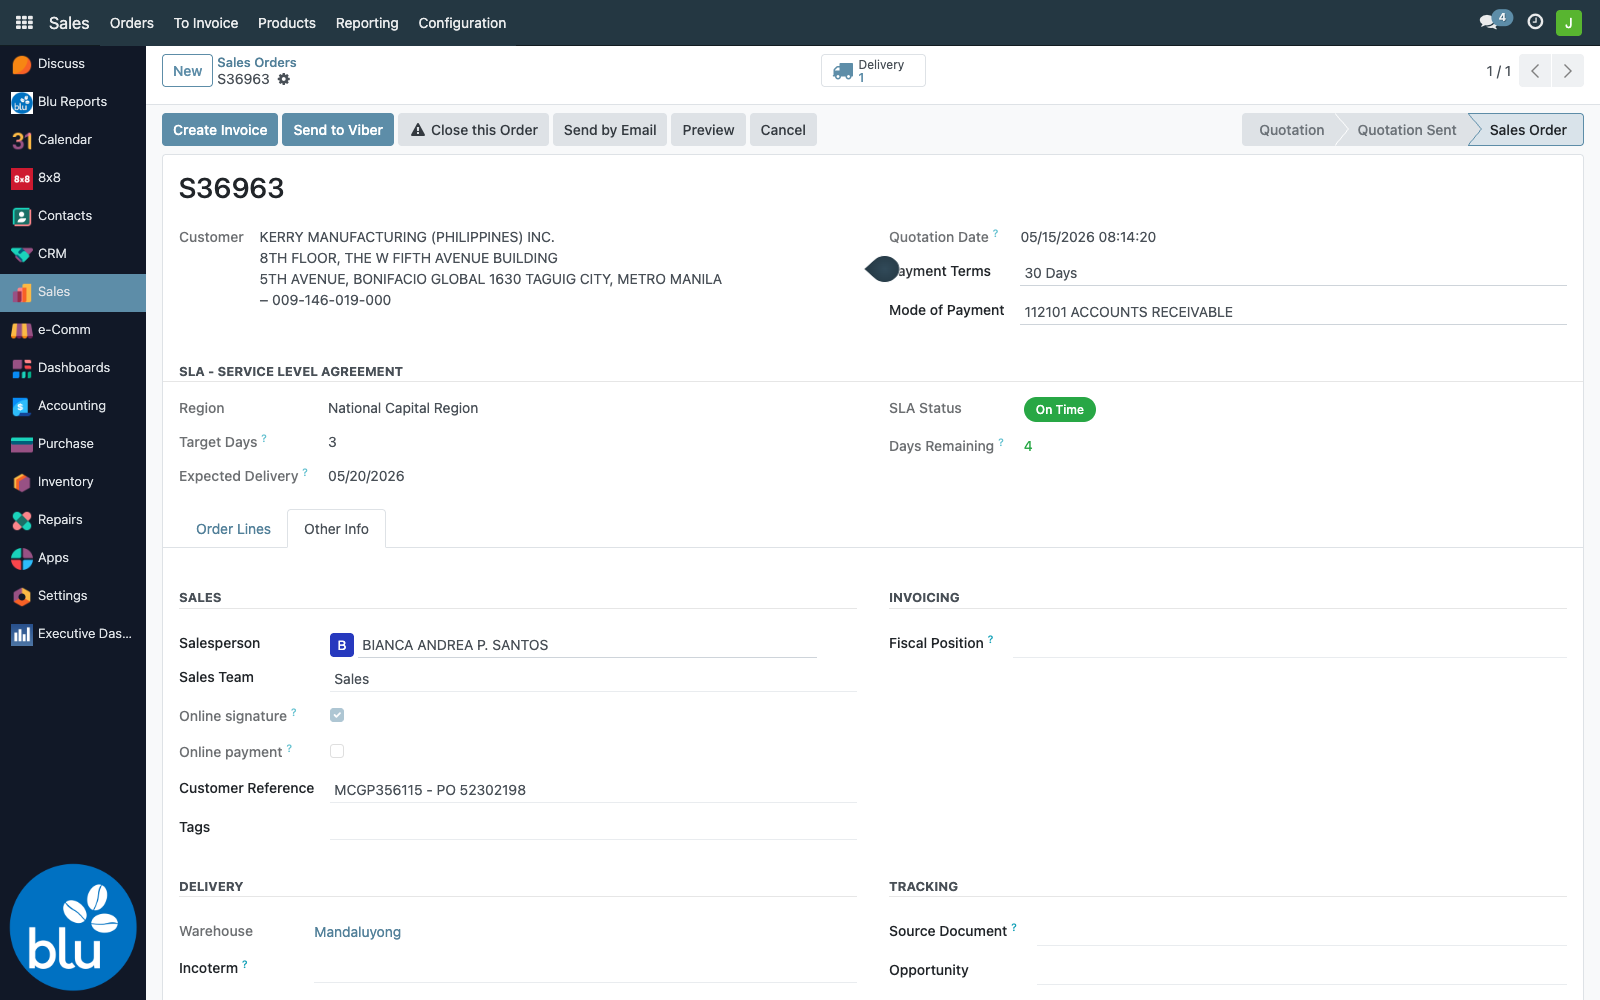
Confirm the order, then validate the Delivery (DR) from the smart button at the top, and finally create the Invoice.
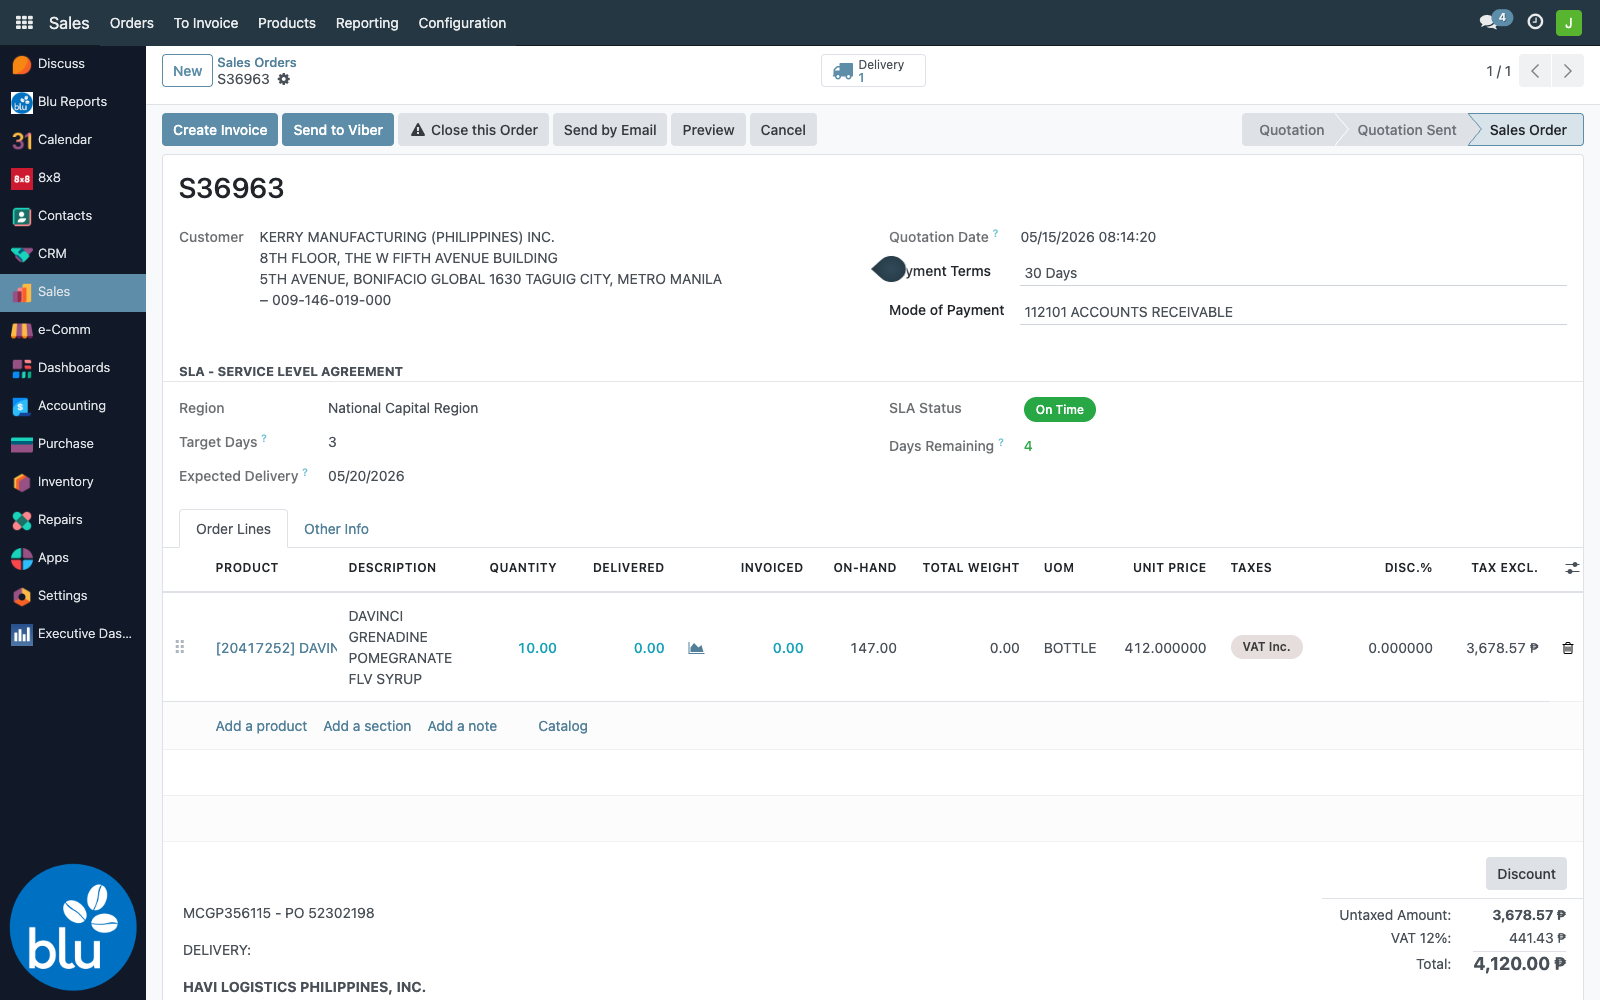
This is the correct path for sold items: revenue is recorded on the invoice and stock leaves naturally on delivery.
Step 3 — Return unsold stock (Transfer Back)
After the event, file another Internal Transfer — this time Source = event warehouse, Destination = main warehouse (or wherever the stock came from). Add all the unsold items and Validate.
Unsold stock is back in main inventory with no expense and no value distortion. It's the mirror image of Step 1.
Step 4 — Write off only what was consumed (Item Request)
For the items that will not come back and were not sold — samples tasted, giveaways, anything damaged — file an Item Request for those items only, attach the signed ISO document, and confirm. This is the only step that legitimately removes value as a write-off.
Quick reference
| The event item is… | Do this | Effect |
|---|---|---|
| Brought to the event | Internal Transfer → event warehouse | Still inventory, no expense |
| Sold | SO (Warehouse = event) → Delivery → Invoice | Revenue booked, stock out |
| Returned unsold | Internal Transfer → main warehouse | Back in stock, no expense |
| Consumed / giveaway / damaged | Item Request (scrap) — those items only | Written off correctly |
Why this is the right way
- Event stock is always traceable to a real location, so on-hand counts stay accurate throughout.
- Items aren't expensed until they're actually sold (invoice) or genuinely written off (scrap).
- Returns are a simple transfer — no inventory adjustments, no re-valuing stock.
- It's all standard Odoo — no custom development or special tools required.